Creating a new Airbox for the Firebird.

TransAmDan

Forum Admin
Staff member
The car has a RAM air hood, its not totally sealed, so not all the air if forced into the flter.

Does the air filter flow enough now its a 383ci converted from a 346?, I wonde rif it can be inproved. On another threat I'm increating the intake monifold from 3 inch to 4 inch openening. This means I need 4 inch on the air lid, or create a new air box.

Buy or create a new air lid. This would be useing the original air filter.
1740393929159.png


Or create one of these.
1740393888396.png


I'm looking to create the later, with 2 K&N cone filters.
This one looks ideal, but will it fit?
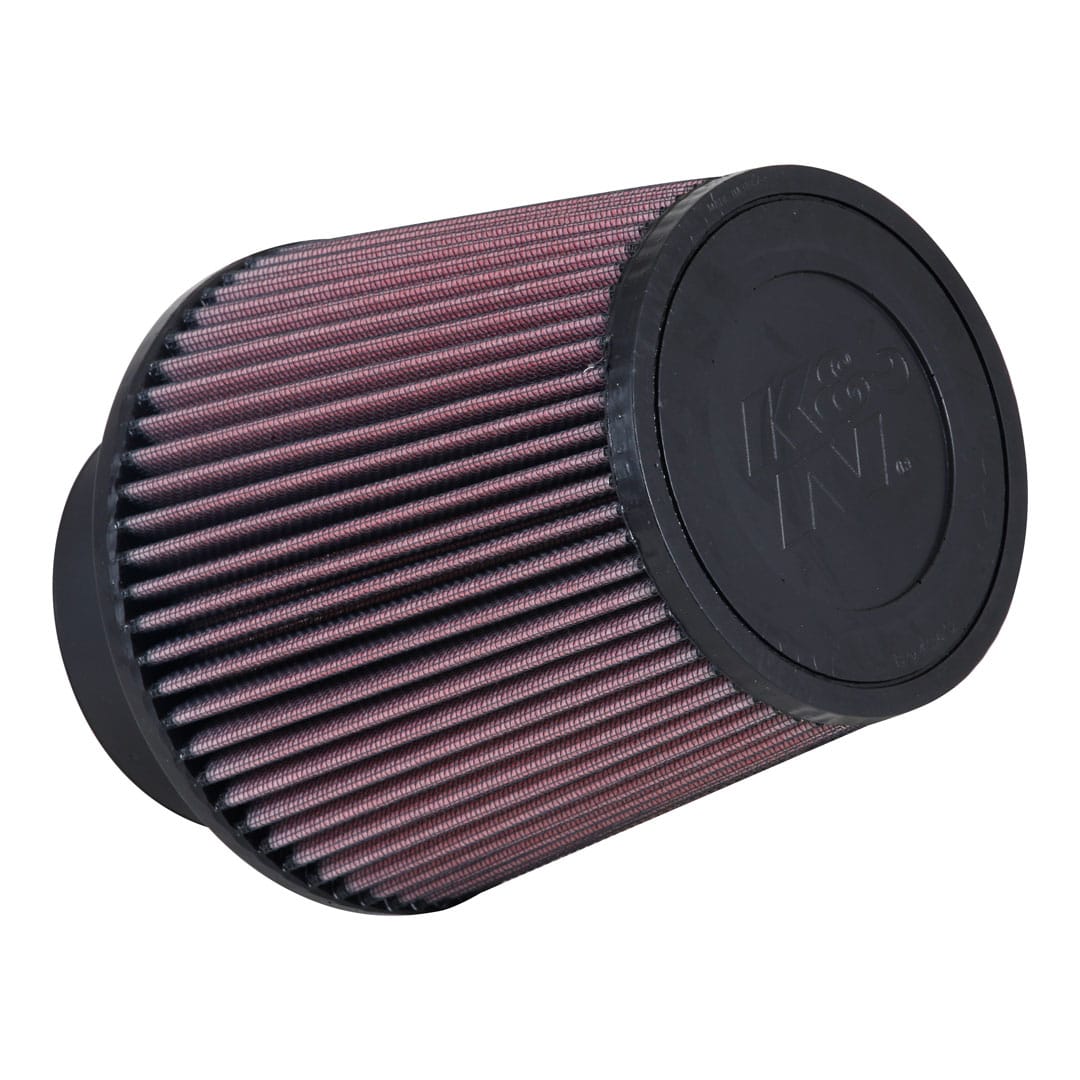
3.5inch pipe, I can 3D print a converter from 2 x 3.5inch pipts to 4inch with a 45degree direction.

Will the fit under the hood? Well for that I needd to 3D scan the bonnet and area where it would go.
It looks like the could fit.
1740394174493.png


A view from the intake monifold looking forward. Filter almost touching the hood, and around a 10mm gap at the bottom.
1740394232436.png


Looking promising so far. Lots more work to do.
 
3D model showed I had around 5mm above and below the filter.
Next was to print a scale model of the filter just be sure before spending £140 on a pair of filters.
The fit is good. Actually surprising how high it sits but it fits. There will be two, the other will be a mirror image.

1000083227.jpg


1000083228.jpg

Coming together well so far.
 
The ar box is coming along well. Checking cearance with the bonnet to allow 10mm for the gasket. Still alot more to do, but it is progressing well.
1740563688002.png


1740563737409.png
 
New air temperature sensor has arrived. Old one was original, still worked. As I'm making a new air box/MAF assembly it's an ideal time to model in a hole for a new one. So it's here, I can measure it to incorporate into the design.
1000083303.jpg


I got a fridge magnet Darren. They seem to fall out of the boxes going to Wales.
 
that 2 i havnt got lol,,,,,,,

so how much 3d ink and time to print then? you going to Monika it with a sponge bob somewhere lol,,,,
 
that 2 i havnt got lol,,,,,,,

so how much 3d ink and time to print then? you going to Monika it with a sponge bob somewhere lol,,,,
Great idea, I could put Sponge bob right at the front between the two filters. Wont be in colour as the high temprature stuff is only available in black. It could be raised and will be visible.

As for ink/filament. I think its looking around 1.2kg, I have brought 1kg for £72. I havn't tried optimising the usage. I'll do that once the design is done. Atleast this one is totallly custom. Others on the market seem to have fitment issues in the comments.
 
Designing coming along well. Working on the pipes. The pipe right before the MAFsensor is having some air straightening hexagon tubes going in.
1741286820534.png


Had to make it oval due to height limitations.


Later I will grab a picture of this in the engine aera.
 
Pipe from the MAF to the filters is almost there. Need to measure the angles of the filters and create a Y-pipe.
1741335526990.png

One all the right length in software, I'll add some flanges for them to connect. I can buy o-rings that are around 130mm diameter, so I'll try to design the flanges to take the same size o-rings, Think I'll need 3 of them.

Air box not shown in the above picture. That is coming.
 
Progress is good. Got most of the things in place. Some adjustments I want to make, like moving the y-peice up 5mm. give me room for a flange and o-ring, plus room to make a air box so the seal will fit above.
1741421035609.png


1741421175994.png

If you say its not centered, you would be correct. look at an early picture with the air box then engine is slightly offset, intake not in the centerline of the car. Odd, never noticed that before.
Would be nice if the filters are centered, and as I'm making the piping this is possible.
 
Y-Pipe coming along well. Although does looks like some weird goggles.
1741447633383.png
 
Y-pipe loooking good, Next need to work on the pipe between that and the silicone hose on the throttle body.
It was a bit clunky before, many different angles.Found a bery nice wat to blend from an oval to 4inch

1741456940672.png


1741457019497.png


Need to add a flange to join to the y-pipe.

Also need to slice this in an ideal place to put the MAF sensor along with creating a flange to join it together.
 
Spot for the intake air temprature added. This is looking nice. Well i tihnk so anyway.

Need to add a place for the Mass Airflow Sensor, I'm going to put it at the flange end.

1741467838914.png


1741467933488.png
 
Y-Peice to joing the two filters, this attached to the yellow part above in the previous post
1000083765.jpg

1000083771.jpg

1000083773.jpg
1000083774.jpg
 
Once hood is down where is the air to filters coming from??? Vents in hood or front grill??
 
Once hood is down where is the air to filters coming from??? Vents in hood or front grill??
Top nostrils I'm using for forcing air into the air box
1000083785.jpg


View from the inside. A letter box opening I want to seal with.
1000083786.jpg
 
Last edited:
Pipe a little more refined. Its getting there. Need to measure the esisting MAF sensor, and prepare to cut it up to make it fit the pipe. However thats after the Breakfast run this coming sunday. Need the sensor working on the car for then. So cant make much more progress on this pipe until then. I'll move onto the radiator support and airbox.
The hexagon pattern is 0.75mm deep in the 3mm thick wall. Shouldn't be any stress on it. Maybe something to refine later.
1741774149716.png


1741774331828.png
 
need to colour in all of them little hexagon's
Yes, may be easier to do by hand. The printer would need to keep exchanging filiment, it would flush out more than its printing. Unless i had hexagone on top, but then it dosn't lend itself to pprinting that way round. To print this I have the flange at the bottom. Prints 0.24mm at a time, pretty much 4 passes per mm. Would take around 6 hours to print this in single colour. The material will be yellow. I could make the hexagons black I suppose.


Another capture as it so far. Flanges not lined up yet, they will be once I get the air box in there.
1741796260908.png
 
Last edited:
A nice thing I can so with the software if look at a thin slice while being in the engine bay. It lets me see clearance above the box to the inside of the bonnet. Still some work to be done there. Going to make the oval wider and not as high. Then gives me room for the gasket seal to the bonnet.
1741876949475.png
 
Back
Top